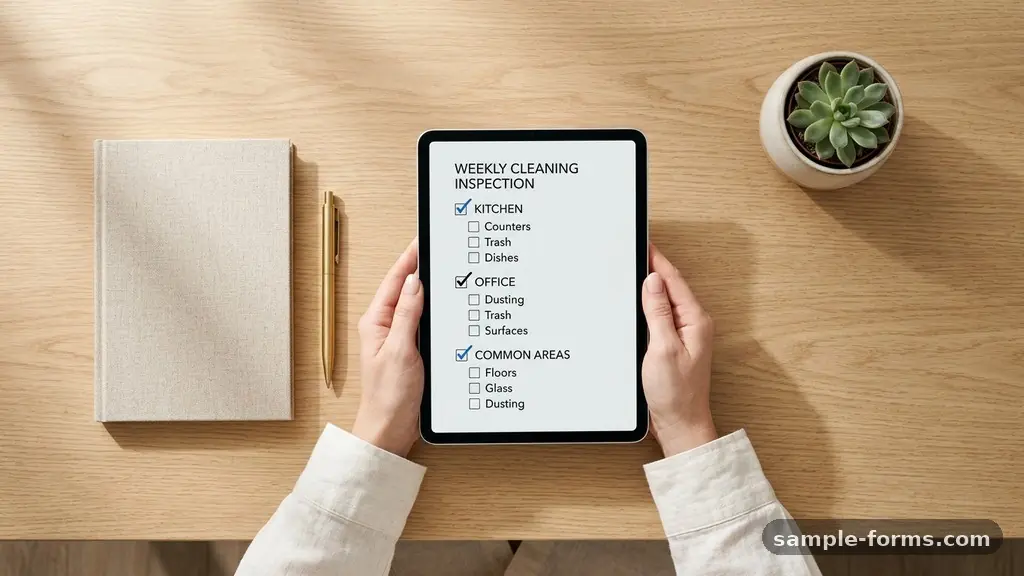
Building a Weekly Cleaning Inspection Form helps facility managers maintain consistent hygiene standards while providing a clear paper trail for staff accountability. By establishing a structured routine, you ensure that no corner is overlooked and that your facility remains safe and welcoming for everyone who enters.
Whether you are managing a small office or a large commercial complex, implementing this type of audit tool transforms how your team approaches daily maintenance. This process focuses on clarity, actionable feedback, and long-term sanitation goals, allowing you to move away from reactive cleaning toward a proactive, data-driven approach to facility maintenance.
Where to start with your inspection
The primary goal of your form is to provide a standardized way to measure cleanliness against your facility’s established sanitation standards. You should begin by identifying the specific zones within your building that require attention, such as restrooms, common areas, break rooms, and individual workstations.
Each of these zones needs its own set of criteria, as the cleaning requirements for a high-traffic lobby differ significantly from those of a storage closet. By breaking the facility down into these logical segments, you create a framework where inspectors can quickly identify whether a space meets expectations or requires immediate attention.
Once you have defined your zones, determine the exact items or surfaces that need checking within each area. Focus on high-touch surfaces like door handles, light switches, and elevator buttons, as these are critical for health and safety regulations.
You should also include items that are frequently ignored, such as baseboards, air vents, and the corners of ceilings. Grouping these items into a checklist template makes the inspection process faster and ensures that the inspector does not have to rely on memory.
Structuring the inspection criteria
A well-structured form should move the inspector through the facility in a logical path, such as starting from the front entrance and working toward the back of the building. This physical flow saves time and prevents the inspector from doubling back across the same floor space.
Within each section, use a simple rating system to evaluate the condition of the area. A binary pass-fail system works well for simple checks, but a 1-to-5 scale provides more nuance when you want to track gradual improvements or identify areas that are consistently “just okay” rather than excellent.
Include a section for comments or notes after every major zone on your form. This allows the person performing the janitorial audit to explain why a specific item received a low score.
For example, if a floor is dusty, the inspector can note that a vacuum cleaner was broken, which helps management resolve the root cause rather than just blaming the cleaning staff. This level of detail is essential for building a culture of transparency and continuous improvement within your custodial team.
Ensuring high-touch surface hygiene
High-touch surfaces are the primary vectors for germs in any indoor environment, making them the most important part of your weekly review. Your form must dedicate a specific column or section to these areas so they are never missed during a walk-through.
When you are building a Weekly Cleaning Inspection Form, emphasize that these surfaces require disinfection, not just visual cleaning. You might include a checkbox for “disinfected” alongside “clean” to ensure that the staff understands the difference between removing visible dirt and eliminating pathogens.
To make this more effective, consider attaching a visual guide to the inspection form that labels these surfaces clearly. This is especially helpful for new staff members who may not be familiar with every high-traffic spot in a large facility.
When staff see exactly what is expected, they are more likely to meet those expectations without needing constant supervision. You can find more information on the principles of maintaining healthy environments at the Centers for Disease Control and Prevention.
Integrating performance metrics
Tracking data over time is the only way to prove that your cleaning program is working. By using your inspection forms to generate performance metrics, you can identify trends, such as a specific restroom that consistently fails its inspection on Friday afternoons.
This insight allows you to adjust your standard operating procedures, perhaps by scheduling a deeper cleaning session or reallocating staff hours to match the facility’s peak usage times. Without these metrics, you are essentially guessing where your cleaning budget should be spent.
You can organize your collected data in a simple spreadsheet to visualize these trends over several months. This objective data is also vital when you need to justify budget increases for new equipment or more cleaning supplies to stakeholders. When you can show that a particular area has seen a 20% improvement in cleanliness scores after a change in procedure, your argument for resources becomes much more persuasive.
| Metric Type | What to Track | Goal |
|---|---|---|
| Frequency | Percentage of completed inspections | 100% compliance |
| Quality | Average score per zone | Above 4.0/5.0 |
| Response | Time to address failed items | Under 24 hours |
Leveraging workflow automation
Moving from paper forms to digital tools is a significant step toward modernizing your facility management. A digital form builder allows you to automate the distribution of inspection tasks and store all your data in a single, searchable database.
With digital tools, the inspector can take photos of issues directly within the form, which provides undeniable proof of the current state of a room. This eliminates the ambiguity that often arises when a staff member claims a room was clean while the manager insists it was not.
Workflow automation also allows you to set up automatic alerts for failed inspections. If an inspector marks a high-priority item as “failed,” the system can instantly email the maintenance lead or the cleaning supervisor, triggering a corrective action plan immediately.
This speed is critical when dealing with health hazards, such as a spill in a hallway or a malfunctioning hand dryer in a restroom. By reducing the time between identifying a problem and fixing it, you significantly increase the overall quality of your facility.
Establishing accountability tracking
Accountability is the backbone of any successful maintenance program. When you use a Weekly Cleaning Inspection Form, you should assign specific zones to specific staff members, creating a clear line of responsibility.
If a zone fails repeatedly, you know exactly who is responsible and can provide targeted training or support. This isn’t about punishment; it’s about ensuring everyone understands their role in maintaining the health and safety of the workplace.
Include a digital or physical signature block on your form to certify that the inspection was completed honestly. Encourage staff to perform self-inspections using the same form before the official audit takes place.
This practice fosters a sense of pride in their work and helps them catch small issues before they become major problems. When staff members know they are being evaluated fairly and consistently, their engagement levels usually rise, leading to better results across the board.
Implementing a corrective action plan
Identifying problems is only half the battle; fixing them is where the real value lies. Your form should include a section for a corrective action plan that outlines how a deficiency will be resolved.
This section should list the specific task, the person assigned to fix it, and the deadline for completion. By formalizing this process, you ensure that “needs improvement” is never just a vague note on a page, but a project with a clear path to resolution.
Follow up on these actions during the next week’s inspection to see if the issue was resolved permanently or if it keeps returning. If an issue recurs frequently, it might indicate that your current cleaning tools are inadequate or that the area is being used more heavily than expected.
In these cases, you might need to adjust your cleaning schedule or invest in more durable equipment. This cycle of identifying, correcting, and reviewing is the key to long-term success.
Common pitfalls to avoid
Many managers make the mistake of making their inspection forms too long or too complicated. If a form takes an hour to complete, your staff will eventually start rushing through it or checking boxes without actually looking at the areas.
Keep the form focused on the most important items and limit the number of questions to what can reasonably be checked in 15 to 20 minutes. A concise form is much more likely to be filled out accurately and consistently.
Another common pitfall is failing to update the form as the facility changes. If you renovate a wing, add new furniture, or change your flooring, your inspection form needs to reflect those updates.
Review your checklist at least twice a year to ensure it is still relevant to the current state of your building. If you find that certain items on your form are never marked as “failed,” consider removing them to make room for more critical checks.
Frequently Asked Questions
How often should I update my inspection checklist?
You should review your form at least twice a year to ensure it reflects current facility needs. If you add new equipment or change your cleaning protocols, update the form immediately to keep your data accurate.
What is the best way to handle staff pushback on inspections?
Frame the inspection as a tool for support rather than a tool for discipline. Show staff members the data to prove that the inspections help identify when they need more supplies, more time, or better equipment to do their jobs well.
Can I use a free app for my inspection forms?
Yes, many free or low-cost digital form builders allow you to create custom mobile-friendly checklists. These apps often include features like photo uploads and timestamped logs, which are superior to paper-based systems for accountability.
Should I share the inspection results with all staff?
Sharing high-level results, such as overall building cleanliness scores, can foster a sense of shared responsibility. However, avoid publicly shaming individuals for specific failures, as this can damage team morale and trust.
What if a cleaning failure is due to a lack of supplies?
If your inspections consistently show failures in areas like restroom stocking, use that data to justify an increase in your supply budget. It is much easier to get approval for more paper towels or soap when you have a month of data showing the impact of the current shortage.
Conclusion
Building a Weekly Cleaning Inspection Form is a foundational step toward a cleaner, safer, and more professional environment. By creating a system that tracks performance metrics and emphasizes accountability, you empower your team to maintain high standards consistently. Remember that the goal of this process is not to find fault, but to create a clear, actionable roadmap for improvement.
Whether you use a simple spreadsheet or advanced workflow automation, the consistency of your approach is what truly drives results. Start by identifying your most critical zones and refining your checklist to reflect the unique needs of your space. As you gather more data, you will find that your ability to manage facility maintenance becomes more effective and less stressful, ensuring your building stays in peak condition for everyone.