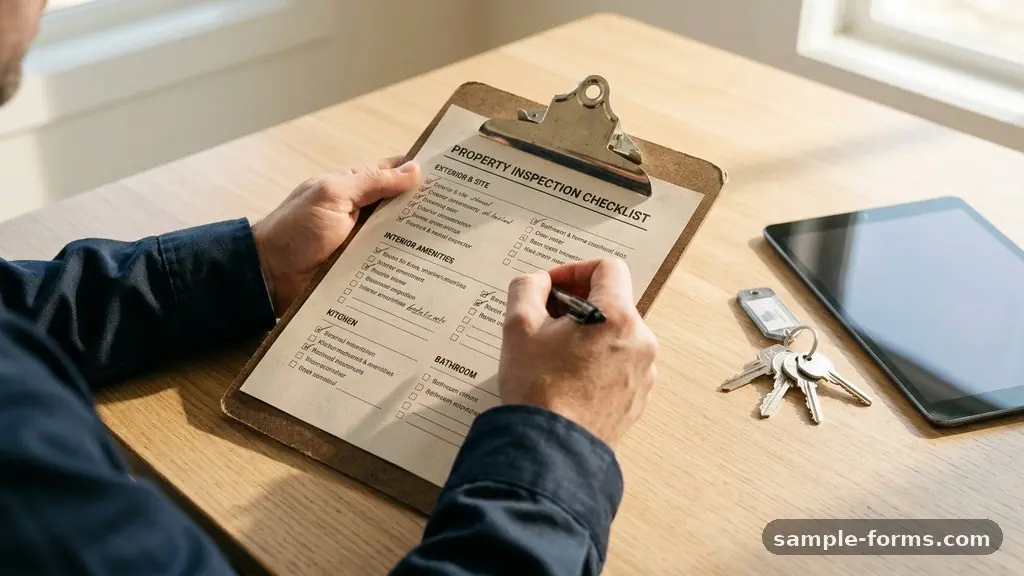
Creating a Property Inspection Checklist Form is the single most effective way to protect your investment and maintain clear communication with your tenants. By establishing a rigorous standard for documentation, you ensure that every detail of a rental unit is accounted for before a lease begins and after it concludes. This process not only safeguards your financial interests but also builds trust through transparency and professionalism.
Whether you are managing a single rental or a portfolio of units, a well-structured form acts as your primary defense against disputes. Let’s look at how you can build a system that works for you every time you walk through a property.
The Core Purpose of Inspection Forms
The primary goal of a property inspection is to establish a baseline for the condition of a home. When you document the state of walls, floors, and fixtures, you create a point of comparison for the future.
This is essential for determining what constitutes normal wear and tear versus actual damage. Without a formal record, you might find yourself struggling to justify deductions from a tenant security deposit.
Documentation also serves as a vital tool for long-term maintenance planning. When you systematically check every room, you identify minor issues before they turn into expensive repairs.
For example, catching a slow drip under a sink today prevents water damage and mold growth tomorrow. Your checklist should be a living document that tracks the health of the property over years of occupancy.
Essential Components of Your Checklist
Every effective inspection document needs to be broken down by room or functional area. You should start at the entryway and work your way through the living spaces, kitchen, bathrooms, and exterior.
Each room must have its own section where you can record the condition of specific items. This modular approach ensures you never skip a detail during a busy walk-through.
Your form should include a simple rating system for every item, such as “Clean,” “Damaged,” “Working,” or “Needs Repair.” Alongside these checkboxes, always provide a generous space for written notes.
Sometimes a simple checkmark isn’t enough to explain a unique scratch on a hardwood floor or a loose cabinet hinge. Specificity is your best asset in the event of a legal disagreement.
Documenting Wear and Tear vs Damage
Distinguishing between normal wear and tear and property damage is often the most contentious part of landlord-tenant relationships. Normal wear and tear refers to the natural deterioration that occurs through everyday use over time.
This includes things like slightly faded paint or minor scuffing on high-traffic areas of flooring. Damage, by contrast, is the result of negligence or abuse.
When you are creating a Property Inspection Checklist Form, you should include specific definitions or guidelines for what you consider damage. A hole in a wall or a broken window pane clearly falls outside the scope of expected aging. Having these definitions clearly spelled out in your lease agreement and referenced in your inspection form provides clarity for both parties.
You can find more information on these legal distinctions through the U.S. Department of Housing and Urban Development guidelines.
Integrating High-Resolution Photo Evidence
Words alone are rarely enough to settle a dispute regarding the state of a property. High-resolution photo evidence is the gold standard for proving the condition of an item at a specific moment in time.
You should mandate that every inspection includes a series of photos for every room, focusing on corners, flooring, and appliances. These images should be stored in a secure, digital format alongside your written report.
When taking photos, try to capture wide shots of the room and close-ups of any existing blemishes. If you find a scratch on a countertop, take a photo from a distance to show its location, then a close-up to show its depth.
Always use a camera that provides a clear timestamped property report. This metadata is crucial if you ever need to present this evidence in court to support a withholding of funds.
Utilizing Digital Inspection Software
Transitioning from paper forms to digital inspection software can significantly improve your efficiency. These platforms allow you to complete your walk-through using a tablet or smartphone, instantly syncing your notes and photos to a cloud database.
Many of these tools offer pre-built templates that you can customize to fit the specific layout of your rental units. This eliminates the need to manually retype notes or organize loose sheets of paper.
Digital systems also offer the benefit of automated reporting. Once the inspection is complete, the software can generate a professional PDF that you can email directly to the tenant for their signature.
This creates a permanent, unalterable record that both you and the tenant can access at any time. It removes the ambiguity of handwriting and ensures that the information is legible for everyone involved.
Technical Systems and Safety Compliance
Your checklist must go beyond aesthetic observations to include critical infrastructure. A thorough HVAC system check is non-negotiable, as this is one of the most expensive components to repair or replace.
You should record the filter condition, test the thermostat functionality, and ensure the unit is cooling or heating as expected. Similarly, an electrical panel inspection should involve checking for loose wires or signs of overheating.
Plumbing leak detection is another area where a checklist saves you money. Check every faucet, toilet, and exposed pipe for signs of moisture or corrosion.
Mold and mildew prevention is also tied to your moisture checks, so ensure that ventilation fans are working in bathrooms. These technical assessments ensure you are meeting all local safety compliance standards.
A Comparison of Inspection Methods
Choosing the right approach for your inspections depends on your volume and available time. Whether you choose manual, digital, or hybrid methods, the consistency of the data you collect is what matters most.
| Method | Pros | Cons |
|---|---|---|
| Paper Forms | Low cost, no tech barrier | Easily lost, difficult to search |
| Digital Software | Instant sync, professional output | Monthly cost, learning curve |
| Spreadsheet Apps | Highly customizable | Manual photo linking required |
Standardizing the Move-In and Move-Out Process
The move-in move-out inspection is the anchor of your tenant relationship. It is the moment where expectations are set and the condition of the property is mutually agreed upon.
By using the same form for both the check-in and the check-out, you create a direct comparison. If a wall was marked as “undamaged” at move-in and is “damaged” at move-out, the discrepancy is immediately obvious.
It is best practice to have the tenant participate in the walkthrough. When they see you documenting the condition of the property, they are more likely to take responsibility for maintaining it.
Provide them with a copy of the completed report immediately following the inspection. This transparency fosters a positive relationship and encourages the tenant to keep the home in good condition.
Maintaining a Maintenance Repair Log
Your inspection form should feed directly into your broader maintenance repair log. If your inspection reveals that a window latch is broken, that item should be transferred to a list of pending repairs.
Once the repair is completed, document the date and the cost in your log. This creates a comprehensive history of the property that is invaluable for tax purposes and future resale.
Keeping this log updated helps you track the lifecycle of major appliances and systems. If you notice you are repairing the same dishwasher for the third time in two years, the log provides the data you need to justify a full replacement. It turns your inspection process from a simple checklist into a strategic management tool.
Frequently Asked Questions
How often should I perform a property inspection?
You should perform a move-in inspection and a move-out inspection for every tenant. In addition, many landlords find value in conducting a mid-lease inspection once every six months. Always check your local landlord-tenant law compliance guidelines to ensure you are providing proper notice before entering the property.
What if a tenant refuses to sign the inspection form?
If a tenant refuses to sign, you should note the refusal on the form and sign it yourself. You can also have a third party witness the inspection and sign the document as well. Take clear photos of every area of the property to serve as objective evidence of the unit’s condition at that time.
Can I charge for normal wear and tear?
No, you generally cannot charge a tenant for normal wear and tear under standard residential property management practices. You are only entitled to use the security deposit to cover damages that exceed normal usage. Clearly documenting the condition at move-in is the best way to prove the difference between wear and actual damage.
Should I inspect the attic and crawlspace?
Yes, checking these areas is essential for a complete structural integrity assessment. These spaces are often where hidden issues like water leaks, pest infestations, or insulation problems begin. Including these in your annual inspection schedule helps you catch problems before they become major structural concerns.
What is the most important part of the inspection?
The most important part is the documentation of existing conditions. Without a clear record of how the property looked before the tenant moved in, you have no way to prove damage at move-out. High-resolution photos and detailed notes are the most critical components of any successful inspection.
Conclusion
Creating a Property Inspection Checklist Form is an essential step in professionalizing your approach to rental management. By standardizing how you record the condition of your assets, you protect your financial future and minimize the potential for conflict with your tenants. Take the time to build a system that covers every room, includes detailed photo evidence, and tracks maintenance needs over time.
When you are consistent with your inspections, you demonstrate a commitment to quality that benefits both you and your residents. Start your process today by drafting your first template and refining it based on the specific needs of your property. Your future self will thank you for the clarity and security this simple tool provides.